Terminal & File Browser
Helix is more than a chat window. It keeps conversation, terminal, and file browser in the same workspace so you can ask the AI for help while you inspect files, run commands, and verify results yourself.
Open the Terminal
Click the terminal icon in the top-right corner.

The terminal automatically starts in the current workspace directory. Commands you run here execute in the current project by default.
What the Terminal Can Do
The Helix terminal is a full system shell. You can:
- Run common commands:
git,npm,python,make,go test, and more - Inspect command output and test failures
- Navigate command history with the arrow keys
- Manually verify changes after the AI edits code
When the AI runs commands, it also works in the current workspace environment. Dependencies you install, environment variables you set, and generated files are typically available to the AI too.
Quick Reference
| Action | How |
|---|---|
| Run a command | Type it and press Enter |
| Interrupt | Ctrl+C |
| History | Up / Down arrows |
| Clear screen | Ctrl+L |
Open the File Browser
Click the file icon in the top-right corner.
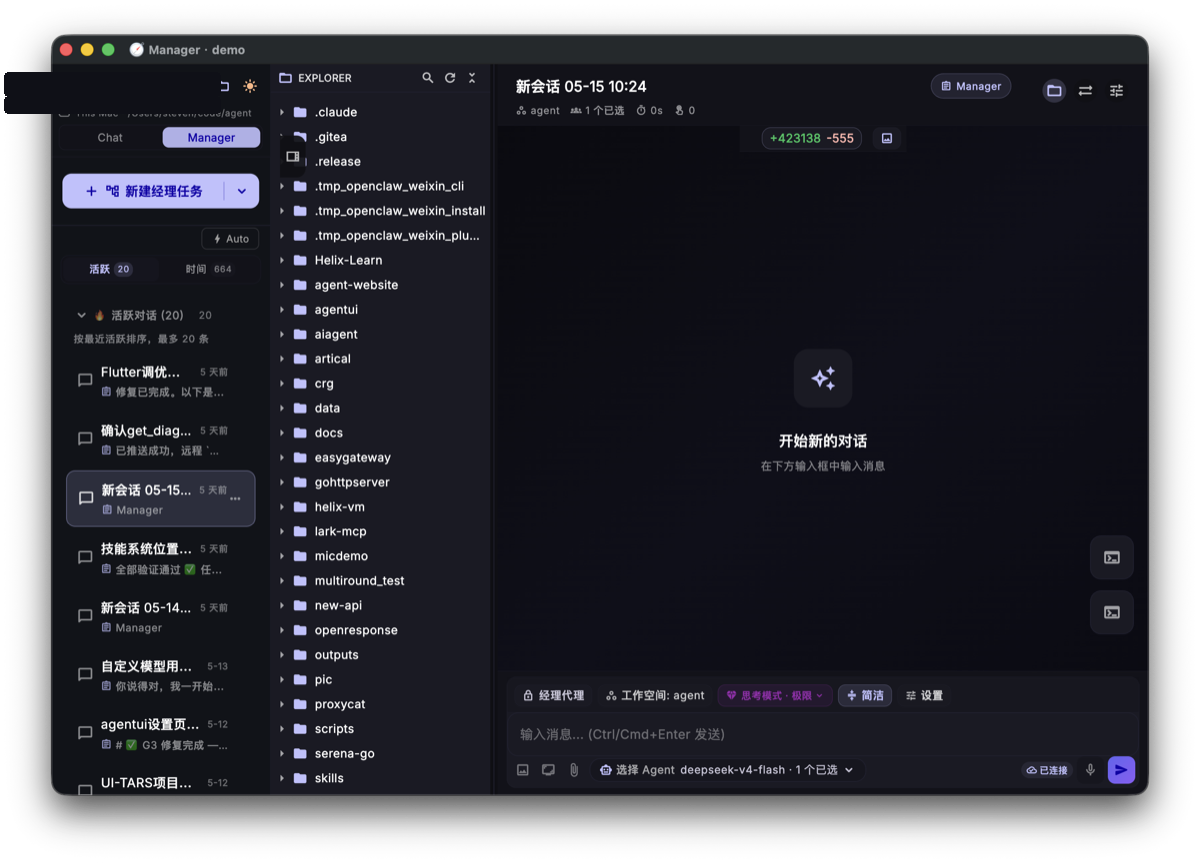
The file browser shows the project tree for the current workspace, making it easy to confirm file locations.
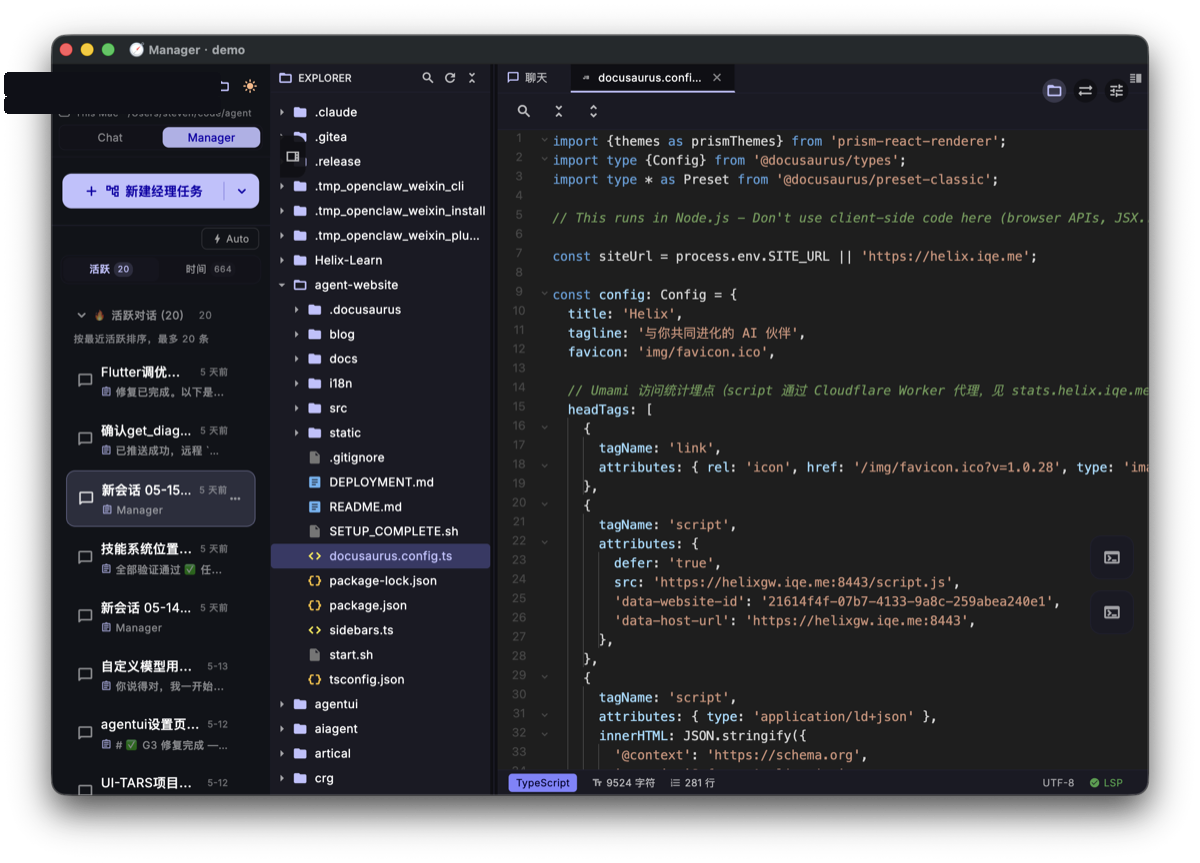
Browse and Locate Project Files
The file browser displays folders and files as a tree:
- Click a folder to expand or collapse it
- Click a file to open a preview
- Use file icons to identify languages and file types quickly
If you're not sure which file the AI should modify, locate it here first and then mention the path in your prompt.
View and Edit Files
After clicking a file, the preview area opens on the right:
- Syntax highlighting
- Scrollable file content
- Direct editing support
- A convenient way to check AI-generated changes
Use the file browser to locate and review, and use the conversation to ask the AI to explain or change code. For example: "Only modify src/api/user.ts, improve the error handling, and explain the diff."
Tips
- Use terminal and chat side by side: run tests while asking the AI to reason about failures
- Locate first, ask second: if you don't know the path, find it in the file browser before prompting the AI
- Review changes with diff: after the AI edits files, run
git diffor inspect the file preview - Give errors back to the AI: copy terminal errors and tell the AI which command produced them
What You Should Be Able to Do
After this tutorial, you should be able to:
- Open the terminal for the current project
- Run test or build commands
- Browse the project file tree
- Open file previews and inspect code
- Give terminal output or file paths back to the AI
Next Step
The final tutorial is Settings & Customization. It shows where to configure models, MCP tools, Skills, theme, language, and advanced options.