Start Your First Conversation
Once a model is configured, Helix can start doing real work. This tutorial shows more than how to send a message: you'll learn how to watch the AI execute, and when to interrupt, follow up, or switch models.
Create a New Session
Click + New Session in the left panel. Helix creates a new conversation thread.
The bottom input is ready for your message. Use one session for one goal or line of follow-up; if you're starting an unrelated task, create another session.
Send a Useful First Prompt
Instead of sending "hello," give the AI something it can act on:
Look at this project's directory structure. Tell me what kind of project it is, what tech stack it uses, and which files I should read first.
This prompt guides the AI to:
- Read the project directory
- Inspect key files such as
package.json,go.mod, andREADME.md - Return a structured project overview and suggested reading path
Type the message, then press Ctrl+Enter (or Cmd+Enter on Mac) to send.
The input supports multi-line text, so plain Enter inserts a newline. Ctrl / Cmd + Enter sends the message. This lets you write complete requests without accidentally submitting early.
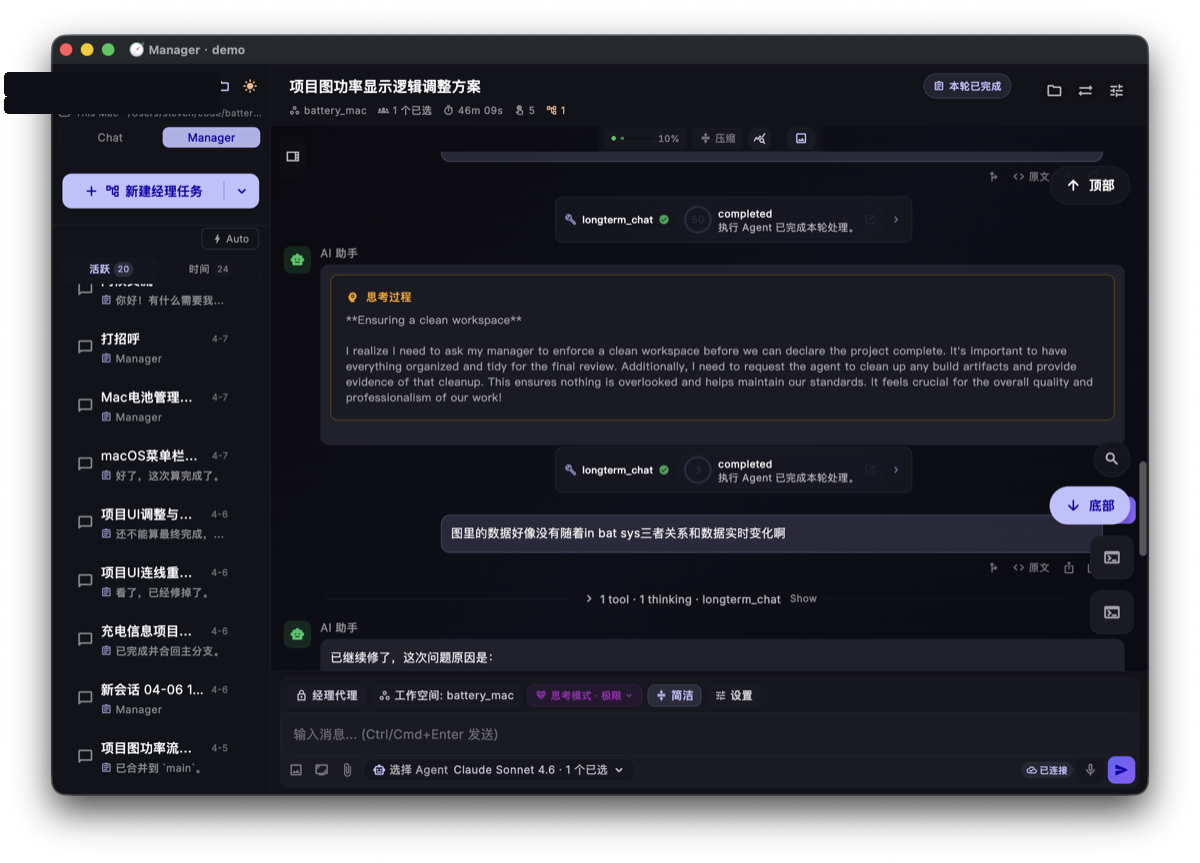
Watch the AI Work
After you send the message, Helix streams the response. Unlike a regular chatbot, the AI can use tools to read the project, run commands, and edit files.
Tool Call Cards
The AI may use tools to:
- Read files: open project files to understand context
- Run commands: execute
ls,git status,npm test, and more - Search code: find functions, variables, or text patterns
- Edit files: modify code directly after the goal is clear
Each tool invocation appears as a collapsible tool card. Expand a card to see which file was read, which command was run, and what output came back.

Streaming Output
The response appears in real time. You don't need to wait until the end to judge whether it's going well. If the AI misunderstands the project, chooses the wrong file, or starts doing something you don't want, interrupt it.
Common Actions
Stop the Current Response
If the AI goes in the wrong direction, click the stop button next to the input. Then clarify what you want, for example:
Don't modify code yet. First explain the project structure only.
Continue the Conversation
A session keeps context. After asking the AI to analyze the project, you can follow up with:
Based on that analysis, draft a README.md with a project summary, installation steps, and usage instructions.
The AI uses the earlier analysis instead of starting over.
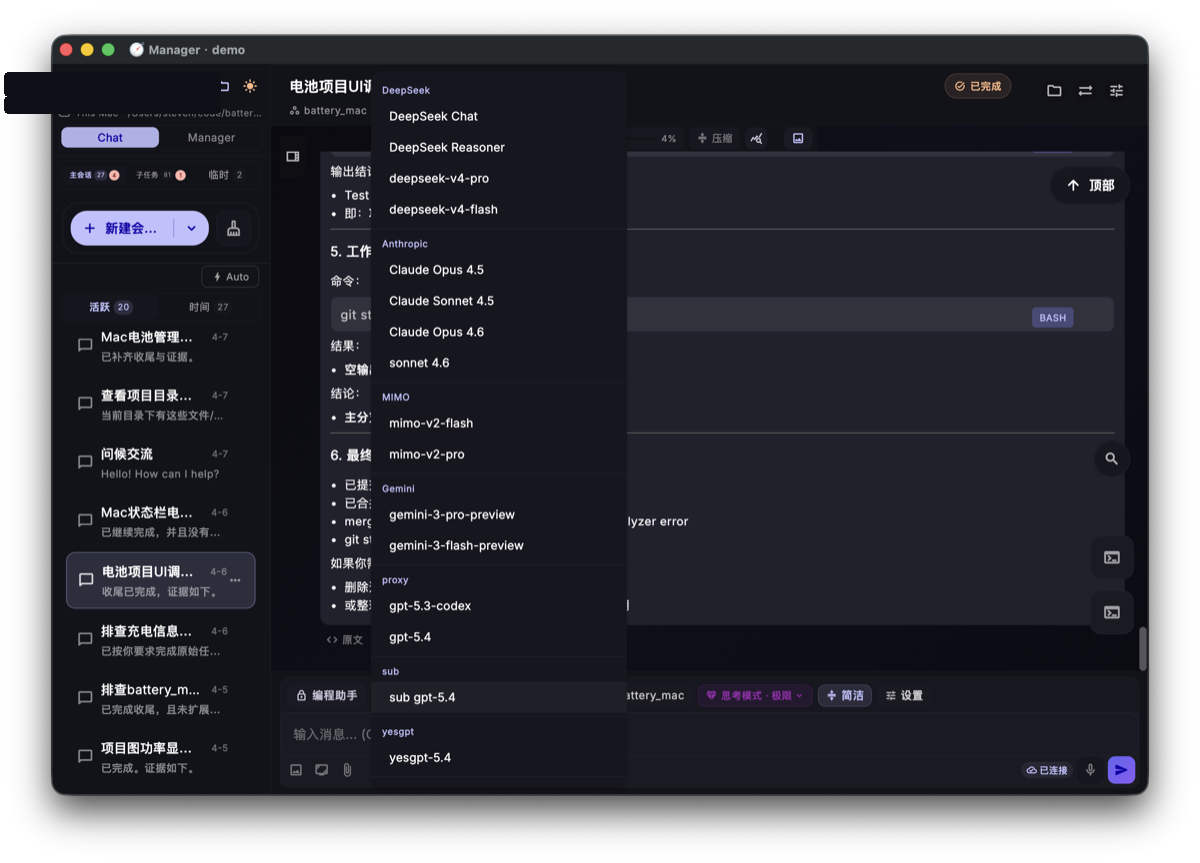
Switch Models
If the current model is slow, expensive, unavailable, or you want a second opinion, click the model name in the bottom toolbar. New messages use the newly selected model while previous conversation history remains available.
Tips for Better Prompts
- State the goal clearly: don't say "fix the code"; say "make
UserService.getUsersupport email lookup and add tests" - Limit the scope: tell the AI which directories to inspect and which files not to touch
- Work in stages: for complex tasks, ask for code reading and a plan before implementation
- Use attachments: screenshots, screen recordings, and files can add UI, error, or requirement context
What You Should Be Able to Do
After this tutorial, you should be able to:
- Create and use a new session
- Send a clear first task prompt
- Understand tool call cards
- Stop a response when it goes off track
- Follow up in the same session
- Switch models from the bottom toolbar
Next Step
After your first conversation, continue to Use Manager Mode. For larger tasks, Manager can split the goal into parallel sub-tasks.