Configure Your First Model
Helix is model-agnostic. It manages project context, tool calls, and file changes, but you still need to tell it which AI model to use.
This tutorial connects a model and verifies it with a simple message.
Choose a Connection Path
Path A: Use a Helix Account (Fastest)
If you have a Helix account and are signed in, built-in model access is available without setting up API keys.
- Click the user avatar in the top-right corner, or click Settings in the bottom toolbar
- Sign in to your Helix account
- Built-in models appear in the model list automatically
If you just want to complete your first conversation, use the built-in account path. Later, you can add your own provider for cost control, model choice, or private services.
Path B: Bring Your Own API Key
If you already use DeepSeek, OpenAI, Anthropic, or another OpenAI-compatible service, add it manually as a provider.
The example below uses DeepSeek. For other providers, the flow is the same; only the interface type, Base URL, and model ID change.
Step-by-Step: DeepSeek Example
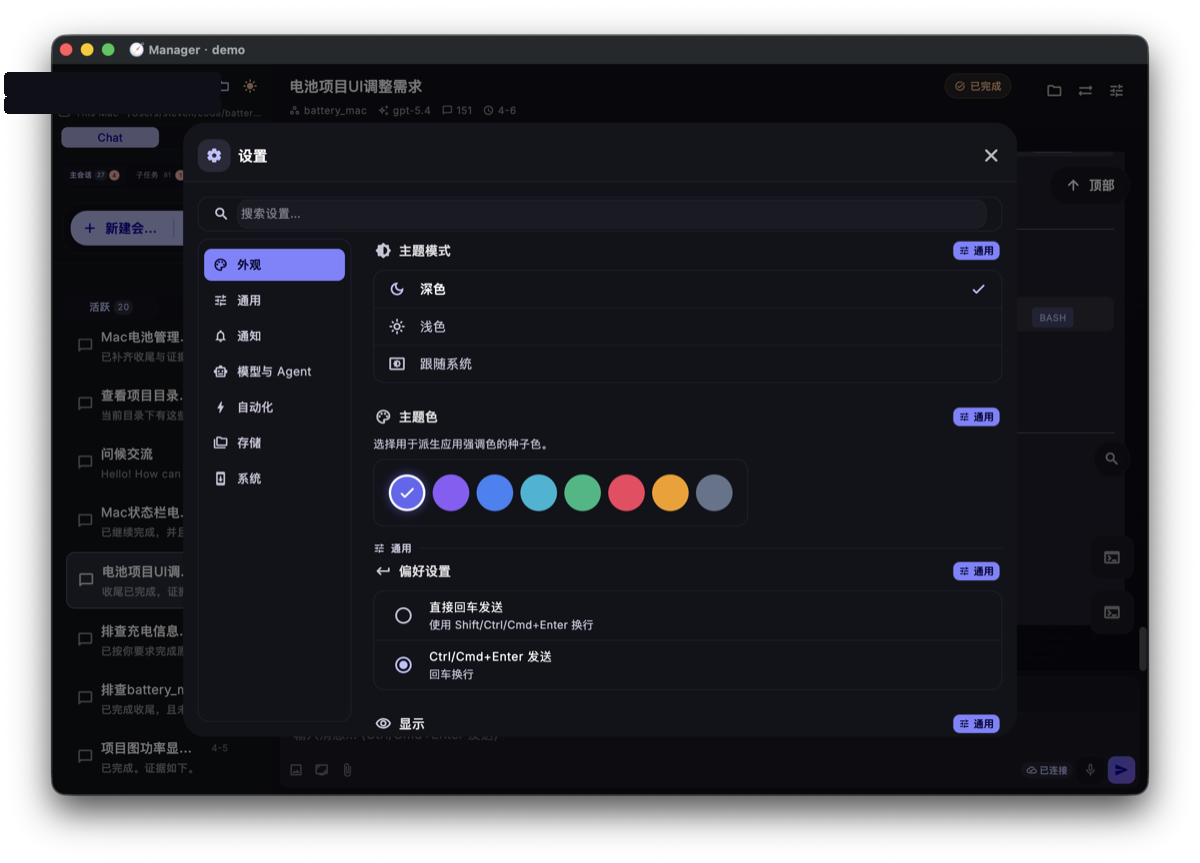
Step 1 — Open Settings
You can open settings from either place:
- Click Settings at the far right of the bottom toolbar
- Click the gear icon in the top-right corner
Step 2 — Open LLM Configuration and Add a Provider
In the settings panel, find LLM Configuration or provider management, then click Add Provider.

Step 3 — Fill In Provider Details
For DeepSeek, use values like these:
| Field | Value |
|---|---|
| Name | DeepSeek |
| Interface type | OpenAI-compatible |
| Base URL | https://api.deepseek.com |
| API Key | Your DeepSeek API key |
An API key is a billing credential. Don't share it, don't commit it to a repository, and avoid exposing it in screenshots or recordings. Helix stores it in local configuration, but you should still handle it carefully.
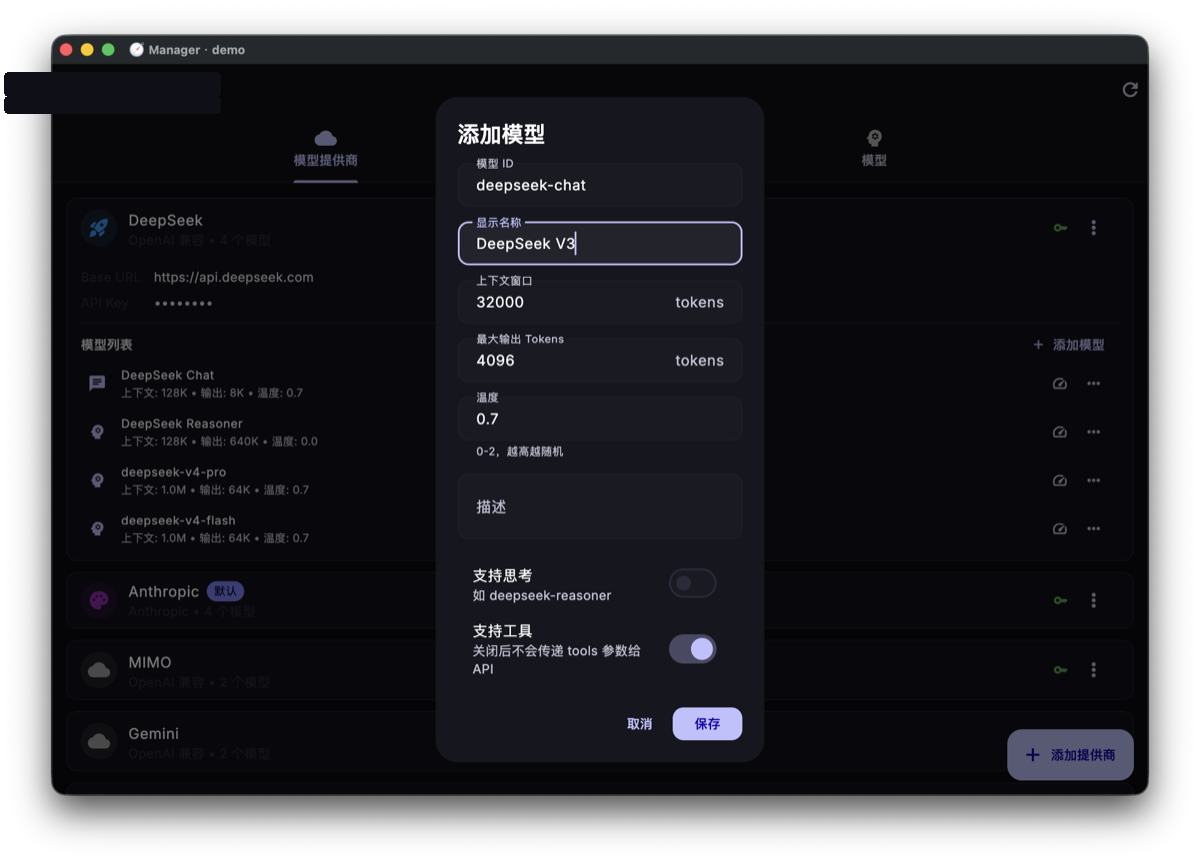
Step 4 — Add a Model
After creating the provider, add a model under it:
| Field | Value |
|---|---|
| Model ID | deepseek-chat |
| Display name | DeepSeek V3 (customizable) |
| Context window | 65536 |
Step 5 — Set It as Default
Once the model is added, set it as the default. New sessions will automatically use it.
You can also click the model name in the bottom toolbar at any time to switch between configured models.
Verify the Model Works
The simplest check is to send a message:
- Return to the main screen
- Click + New Session
- Type:
Hello — introduce yourself in one sentence - Press
Ctrl+Enter(orCmd+Enteron Mac) to send
If the AI replies, the model is ready.
Check these first:
- API key completeness: no missing characters or extra spaces
- Base URL: providers may require different URL formats
- Model ID: it must match the provider's documentation exactly
Common Provider Reference
| Provider | Interface type | Base URL | Common Model IDs |
|---|---|---|---|
| OpenAI | OpenAI | https://api.openai.com/v1 | gpt-4o, o3 |
| Anthropic | Anthropic | https://api.anthropic.com | claude-sonnet-4-20250514 |
| DeepSeek | OpenAI-compatible | https://api.deepseek.com | deepseek-chat, deepseek-reasoner |
| SiliconFlow | OpenAI-compatible | https://api.siliconflow.cn/v1 | Per platform docs |
What You Should Have Now
After this tutorial, you should see an available model in the bottom model bar and be able to send a message that receives a reply.
Next Step
With a model ready, start your first conversation and watch Helix read your project, call tools, and produce useful output.